
Why Lime Mortar is Essential for Reclaimed Bricks: Period Repairs to New Build Cladding
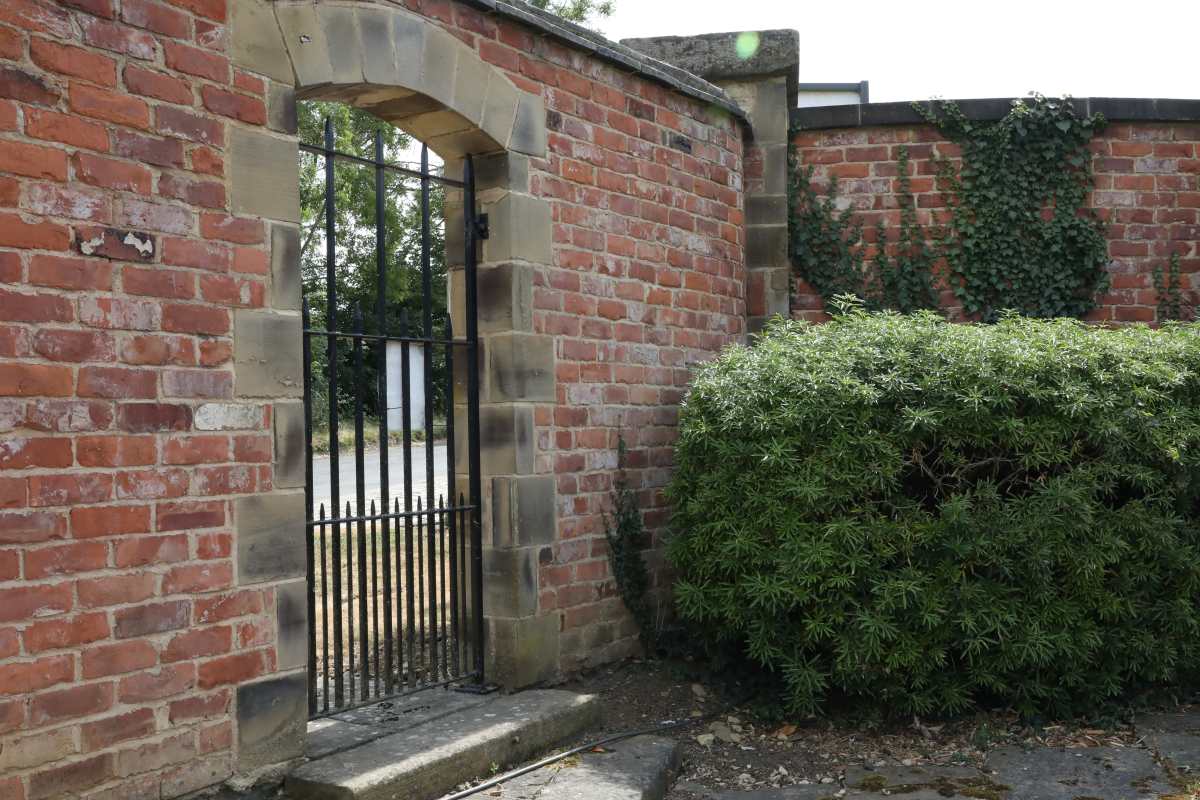
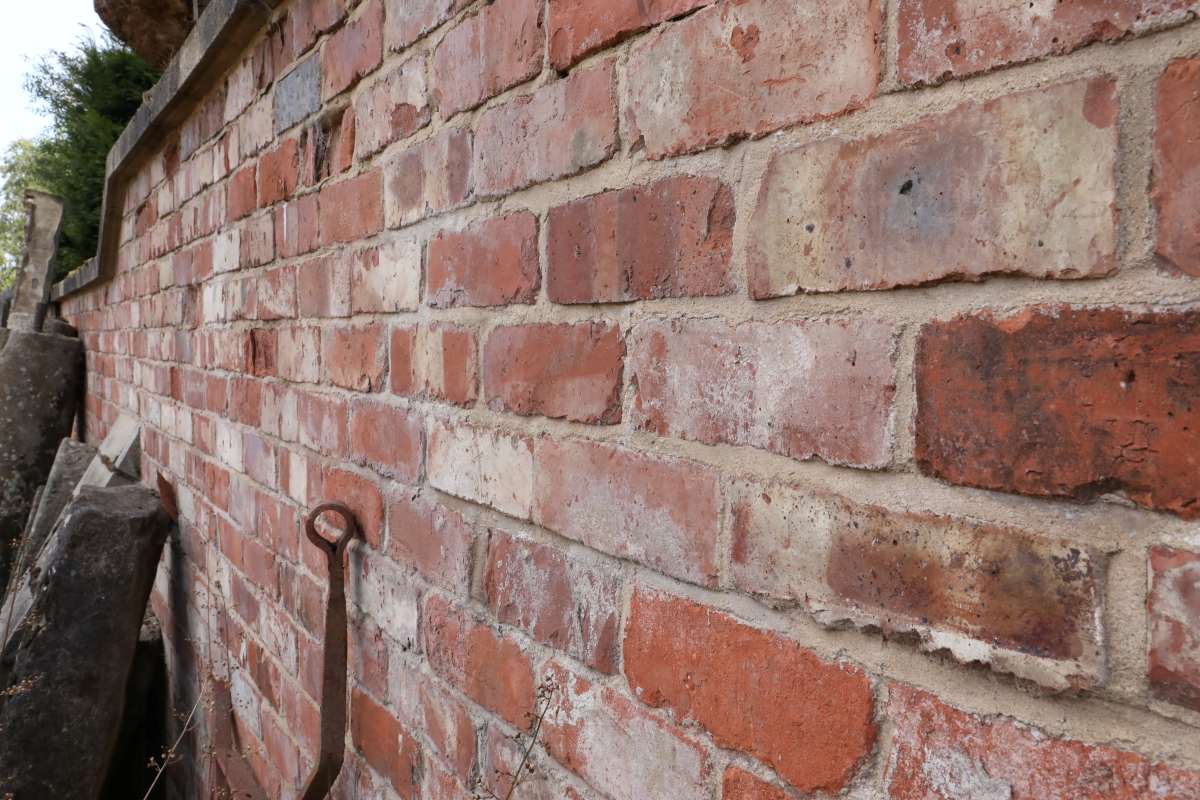
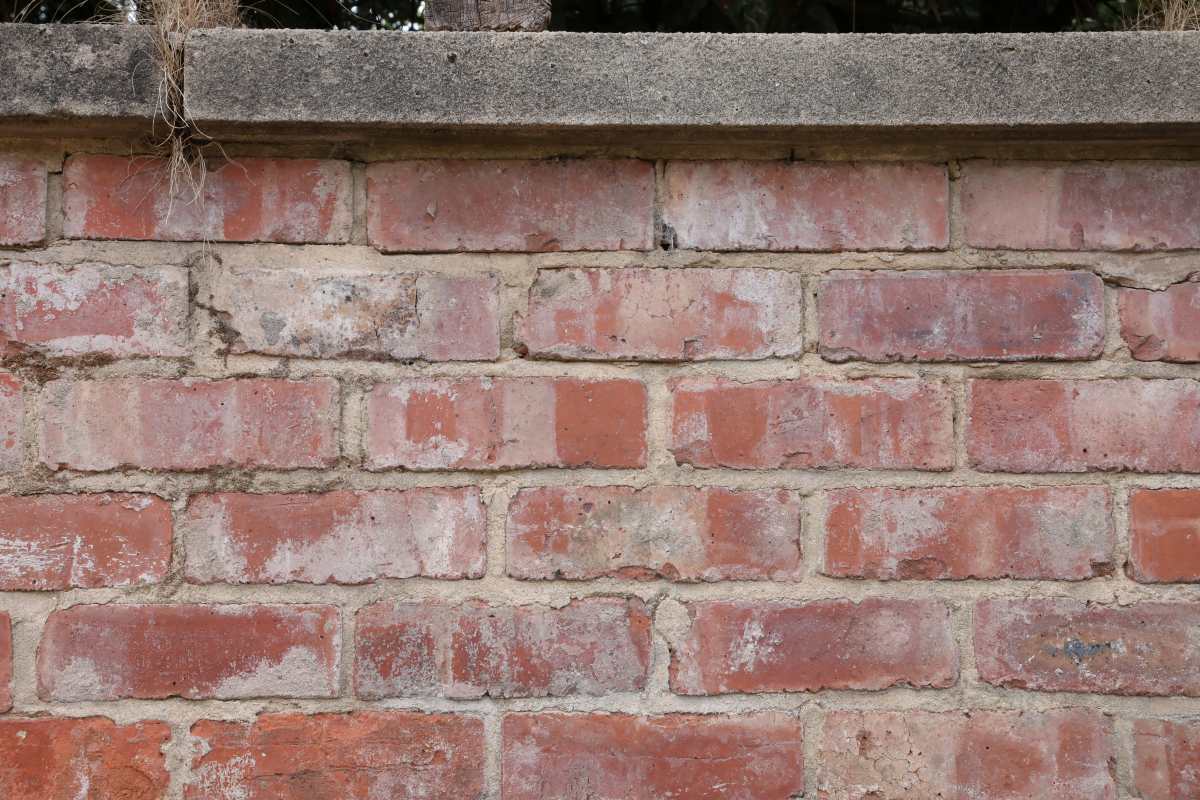
Lime mortar and reclaimed bricks go hand in hand. Preserving the structural integrity and historical character of a UK home requires using the correct combination of traditional building materials. When working with salvaged bricks, selecting the proper mortar mix is just as critical as sourcing the bricks themselves.
Using modern cement with historic masonry is a costly mistake that leads to irreversible brick degradation and internal dampness. This guide breaks down why lime mortar remains the only viable choice for period property restorations, extension projects, and modern new builds cladded in reclaimed brick veneers.
Why Period Properties Must Use Lime Mortar
Historic buildings across the UK—including Victorian terraces, Georgian townhouses, and timber-framed cottages—were engineered to function differently from modern cavity construction. Instead of relying on synthetic dpc barriers, they rely on a permeable, “breathable” building envelope to regulate moisture movement.
1. Superior Breathability Prevents Internal Damp
Older solid walls absorb ambient moisture from heavy rainfall and release it back into the air through evaporation. Lime mortar acts like a moisture wick, drawing water out of the brickwork. Because lime dries quickly and stays vapor-permeable, it prevents damp from penetrating into internal living spaces.
2. Flexibility and Autogenous “Self-Healing”
Structures naturally move due to seasonal temperature shifts and subtle ground settlement. Lime mortar offers high elasticity, allowing brick joints to accommodate movement without cracking the surrounding masonry.
Furthermore, lime possesses autogenous self-healing properties. When micro-cracks form, rainwater dissolves uncarbonated calcium compounds within the mortar joint. As this liquid migrates into the crack and reacts with atmospheric carbon dioxide (CO2), it re-precipitates as hard calcium carbonate (CaCO3, or calcite), sealing the fissure naturally over time.
3. Sacrificial Protection for Porous Bricks
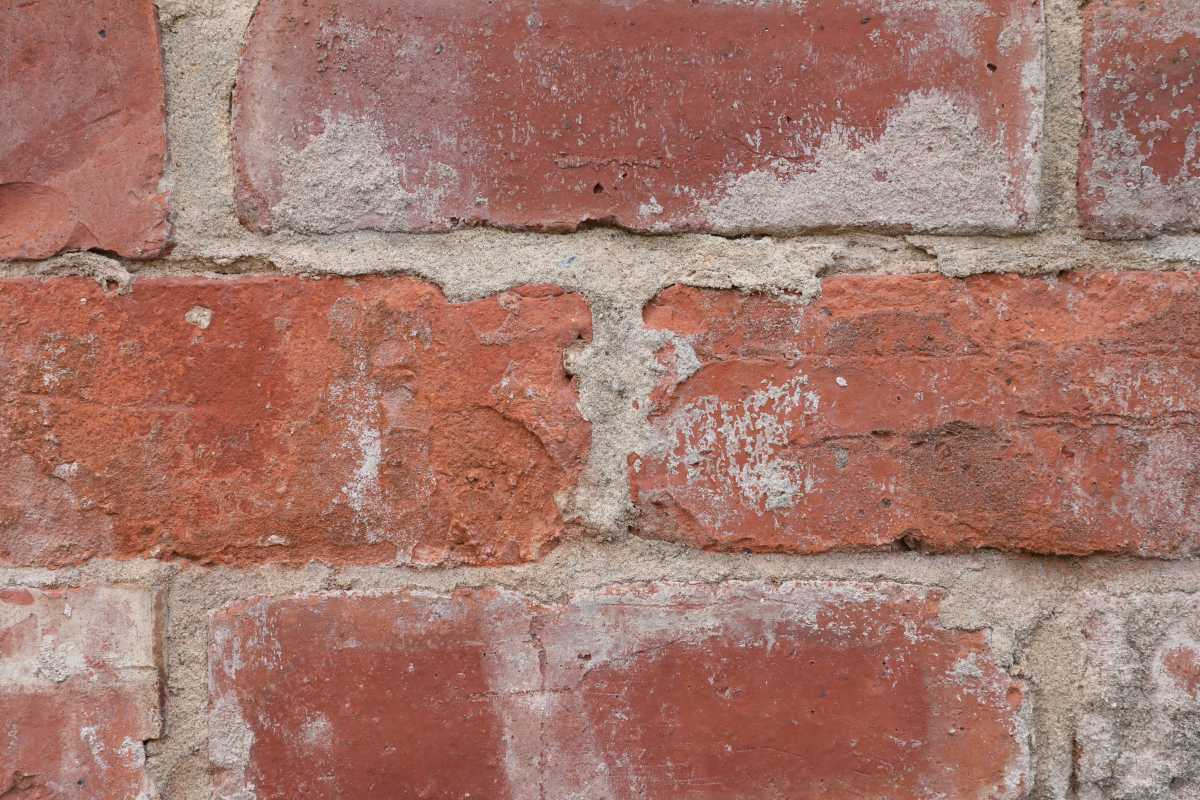
Reclaimed bricks—especially soft, hand-moulded imperial reds—are far more porous than modern, factory fired wirecut bricks. Lime mortar acts as the sacrificial element within the wall assembly. During winter freeze-thaw cycles, moisture expands within the renewable mortar joints rather than face spalling your historic bricks. Repointing weathered lime mortar is straight forward. However, replacing ruined antique bricks is invasive and expensive.
Why Cladding New Builds in Reclaimed Bricks Demands Lime Mortar
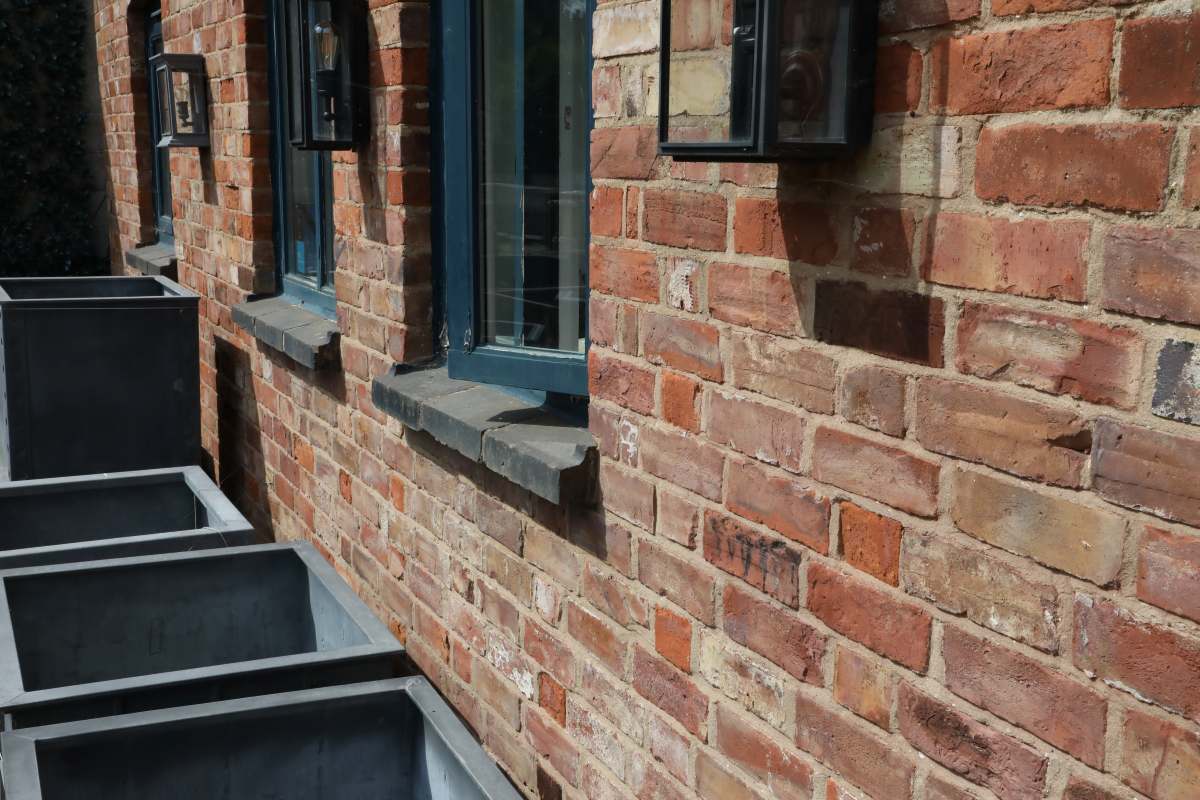
Modern construction frequently pairs timber-frame or blockwork cores with an external skin of reclaimed brickwork to achieve an instant, aged aesthetic. However, contractors must still lay the external brick veneer using traditional lime mortar.
The Danger of Modern Cement
Modern Portland cement cures into an extremely hard, dense, and waterproof matrix. Laying soft, reclaimed bricks with rigid cement mortar traps moisture inside the porous clay units. During winter frosts, this trapped water expands, causing the outer face of the reclaimed bricks to spall, crumble, and flake away.
[Trapped Water in Porous Brick] + [Sub-Zero Temperatures] ➔ [Expansion] ➔ [Spalling Brick Face]
Furthermore, Portland cement expands and contracts at a radically different thermal rate than antique clay. This differential thermal movement places immense stress on the brick cladding, ultimately causing diagonal structural cracking across new self build facades or extensions. Lime mortar ensures your brick veneer ages gracefully and remains structurally sound for decades.
Step-by-Step Guide: How to Use Lime Mortar Correctly with Reclaimed Bricks
Working with lime requires a shift in mindset and trade technique compared to modern cement mixes. Follow these practical steps for a durable, professional finish.
Identify the correct binder for your specific structural application:
-
Non-Hydraulic Lime (Lime Putty / Fat Lime): Best for delicate conservation work, heritage restoration, and internal feature walls. It cures purely via atmospheric carbonation ($\text{CO}_2$ absorption) and remains soft and flexible.
-
Natural Hydraulic Lime (NHL): Ideal for general building, cladding, and external walls exposed to severe UK weather. NHL sets via a dual curing process: an initial chemical reaction with water (hydration set), followed by ongoing atmospheric carbonation over time.
-
NHL 2: Best for soft, fragile reclaimed bricks or sheltered locations.
-
NHL 3.5: Standard choice for general external wall construction, repointing, and cladding across the UK.
-
 2.Control Brick Suction and Prepare Joints:
Rake out old mortar joints to a depth equal to roughly twice the joint width (minimum 15–20mm). Clean away all dust and loose debris.
Managing High Suction: Reclaimed clay bricks suck moisture rapidly out of fresh mortar, causing it to dry prematurely and fail. Thoroughly damp down the bricks hours in advance, and apply a light misting spray immediately prior to laying or repointing to balance the suction rate.
Combine your lime with well graded sharp sand, typically at a 1:3 ratio (one part lime binder to three parts aggregate).
-
Bagged Dry NHL Powder: Mix with clean water using a mechanical paddle mixer for 10 to 15 minutes. Keep water additions minimal; the mix should yield a stiff, workable consistency rather than a wet slurry.
-
Lime Putty (Coarse Stuff): Requires intensive mechanical “knocking up” (beating) rather than simple mixing to break the thixotropic bond and bring it back to a plastic, workable state.
Push the mortar deep into the prepared joints using a pointing iron or finger trowel. Subsequently, press the mixture firmly against the back of the joint to eliminate air pockets and guarantee a weather tight bond.
Allow the fresh mortar to reach a “leather hard” preliminary set (firm enough to accept thumb pressure without sticking).
Beat or stipple the joint surface using a stiff bristle brush. As a result, this critical trade step compacts the mortar face, closes up minor shrinkage hairline cracks, removes surface laitance, and exposes the coarse sand aggregate for a rich, traditional texture.
Lime mortar cures slowly and requires careful environmental management.
-
Prevent Rapid Drying: Cover fresh brickwork with damp hessian sheets to protect against direct sunlight, drying winds, and driving rain. Misting the hessian occasionally helps maintain humidity during curing.
-
Avoid Frost Exposure: Never apply lime mortar if ambient temperatures are forecast to drop below 5°C during the curing window (typically 3–4 weeks). Indeed, freezing conditions destroy the wet hydraulic bond before full carbonation occurs.
Summary:
Pairing reclaimed bricks with lime mortar guarantees structural flexibility, breathability, and sacrificial protection. As a result, respecting these traditional materials and controlling moisture suction during application, your brickwork will withstand British weather for generations.