If you’ve ever wondered what’s involved in laying stable pavers as a driveway or garden path, take a look at the videos below to get an idea. Attention to detail is crucial, especially when using reclaimed paving blocks. Ensuring a tight fit is key, so knocking away any remnants of the pavers previous life is very important. As the processes in manufacturing weren’t consistent in Victorian Britain, there can be differences in size as well.
Once the pavers are laid, grouting is required. In the video below, a ‘washing in’ slurry mix used. It’s the simplest way to do it but the actual mix is important, and always ensure you use enough water.
Although this is a larger project, the same guidelines apply. Measuring the area, calculating the bricks and grout required, is just the starting point. A firm, level bed on which to lay the pavers is literally the foundation to a successful project. An area paved with stable pavers is incredibly hard wearing, so pulling it all up to re-level it is the last thing you’d want. Starting with small projects and then expanding is one way to build the skills necessary. Then move on to bigger projects once you’re confident. Alternatively, using a professional builder is always an option.
Variations
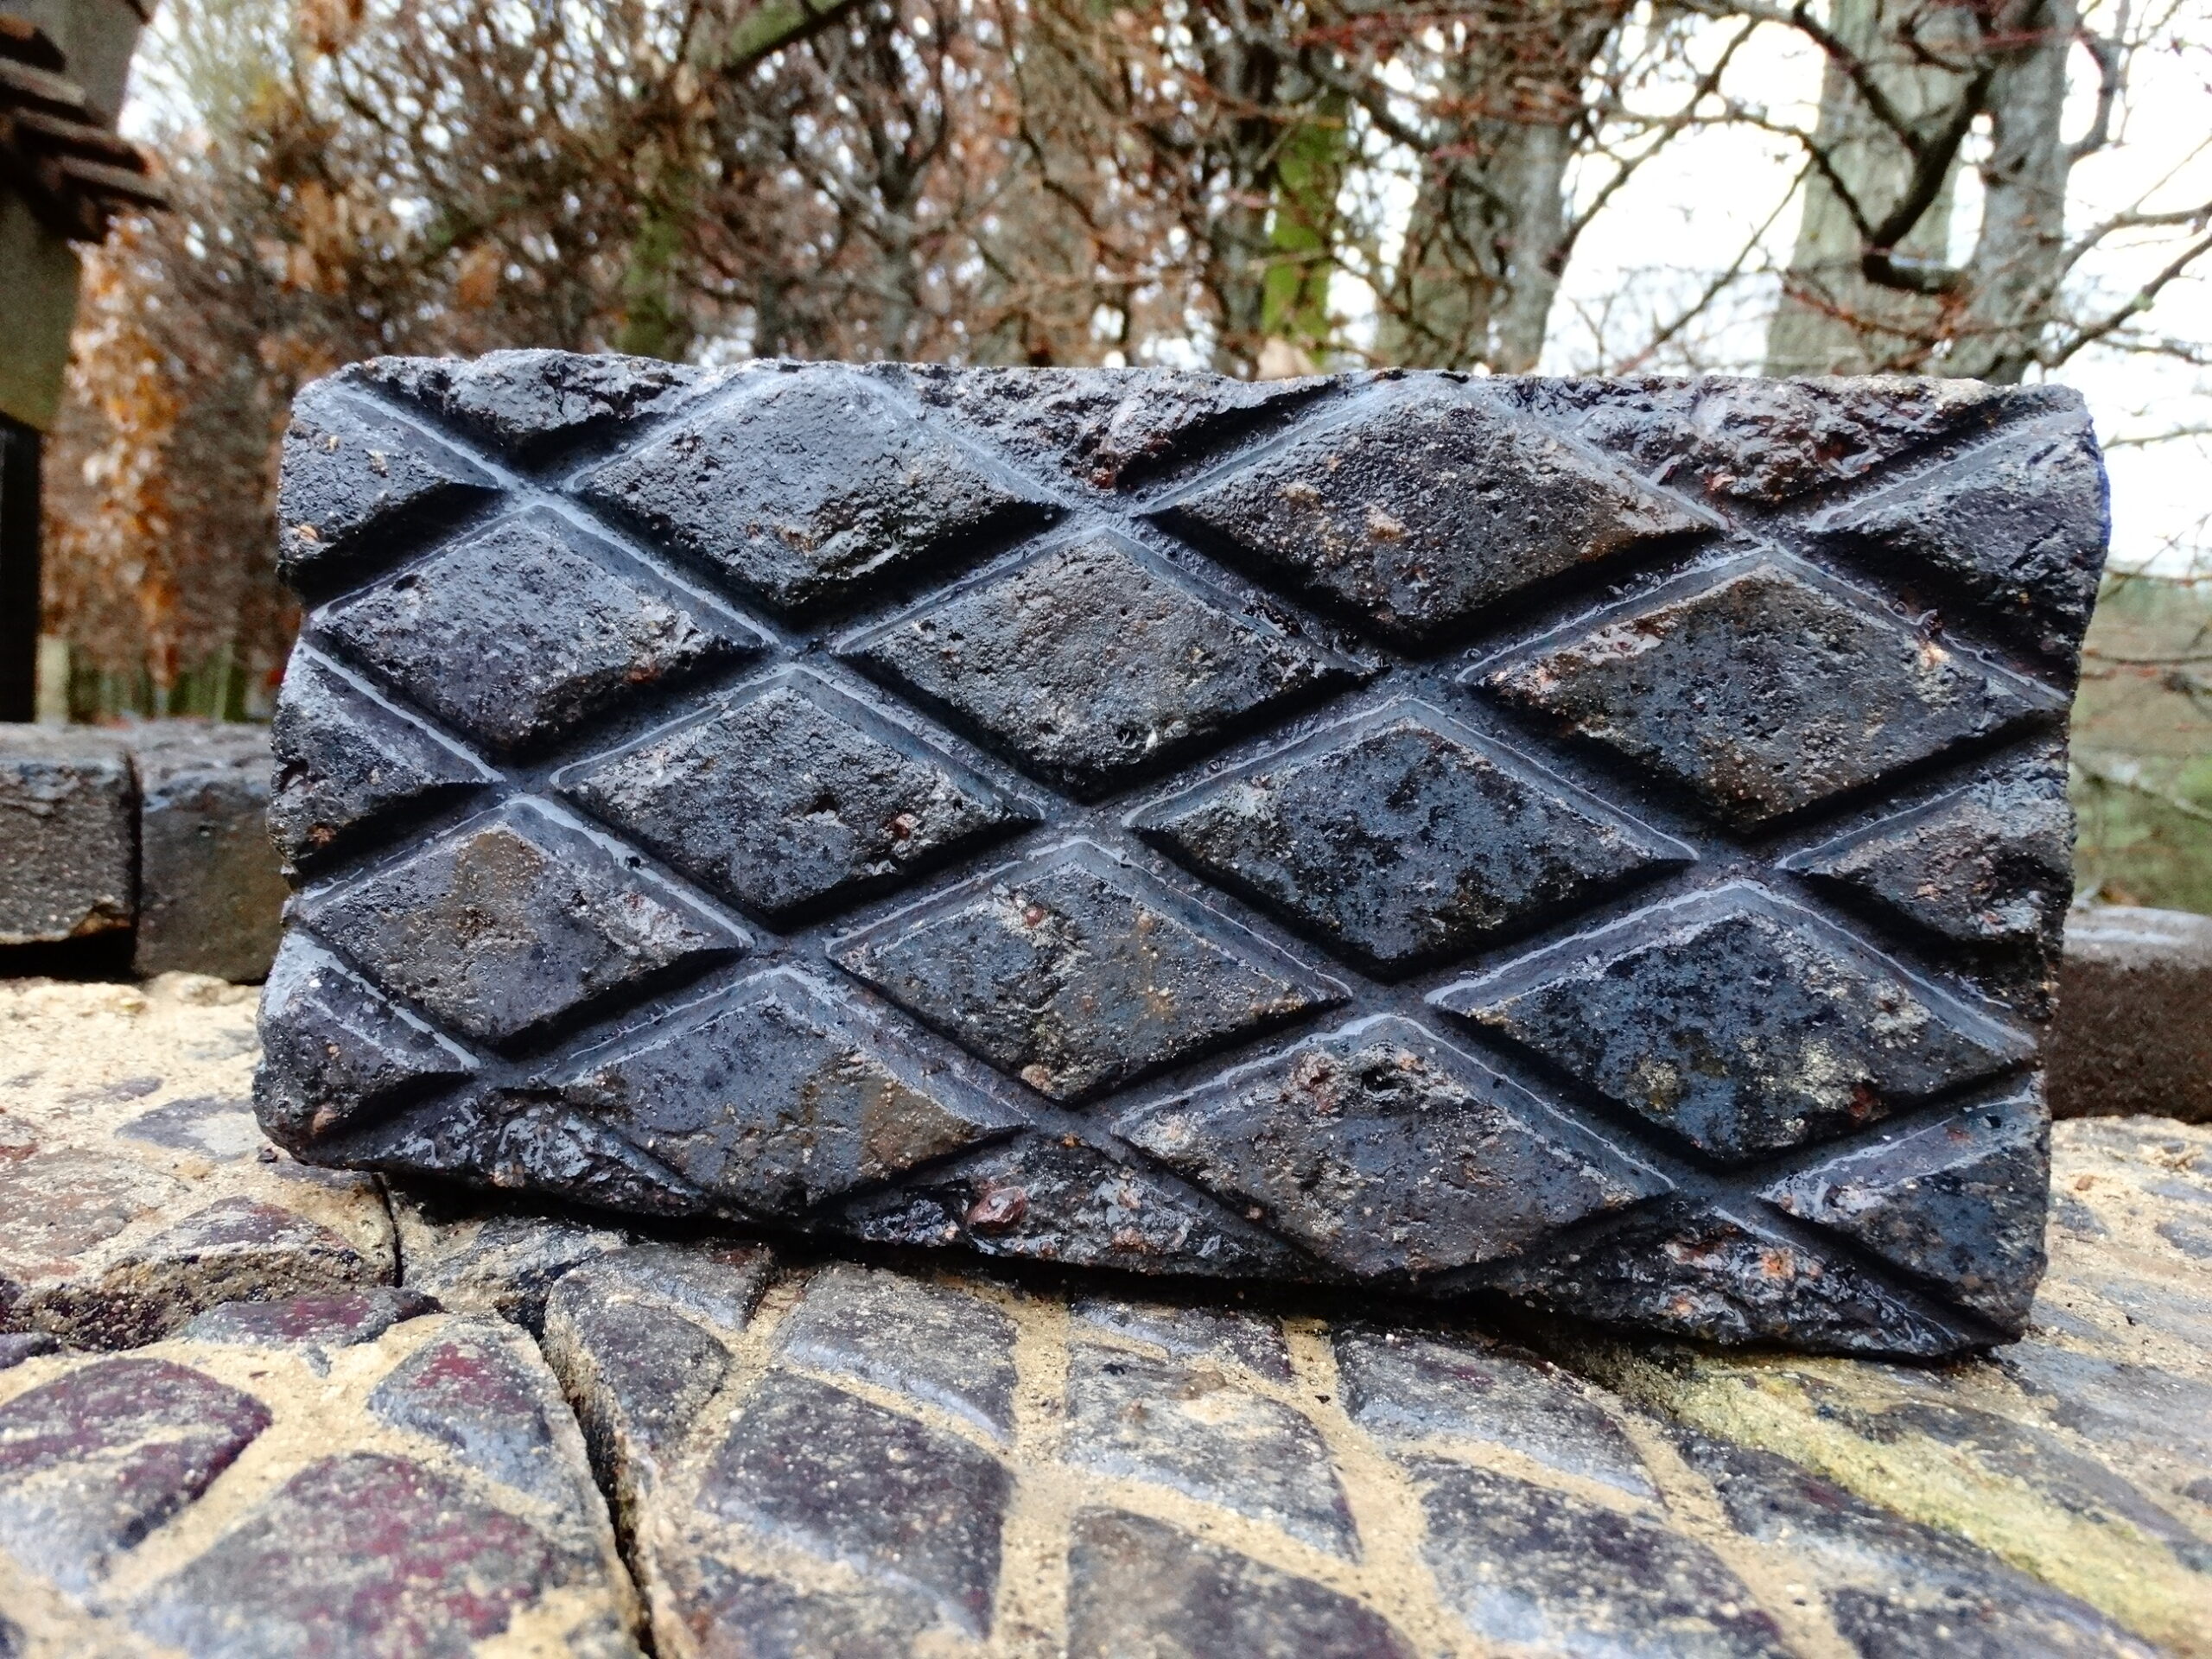
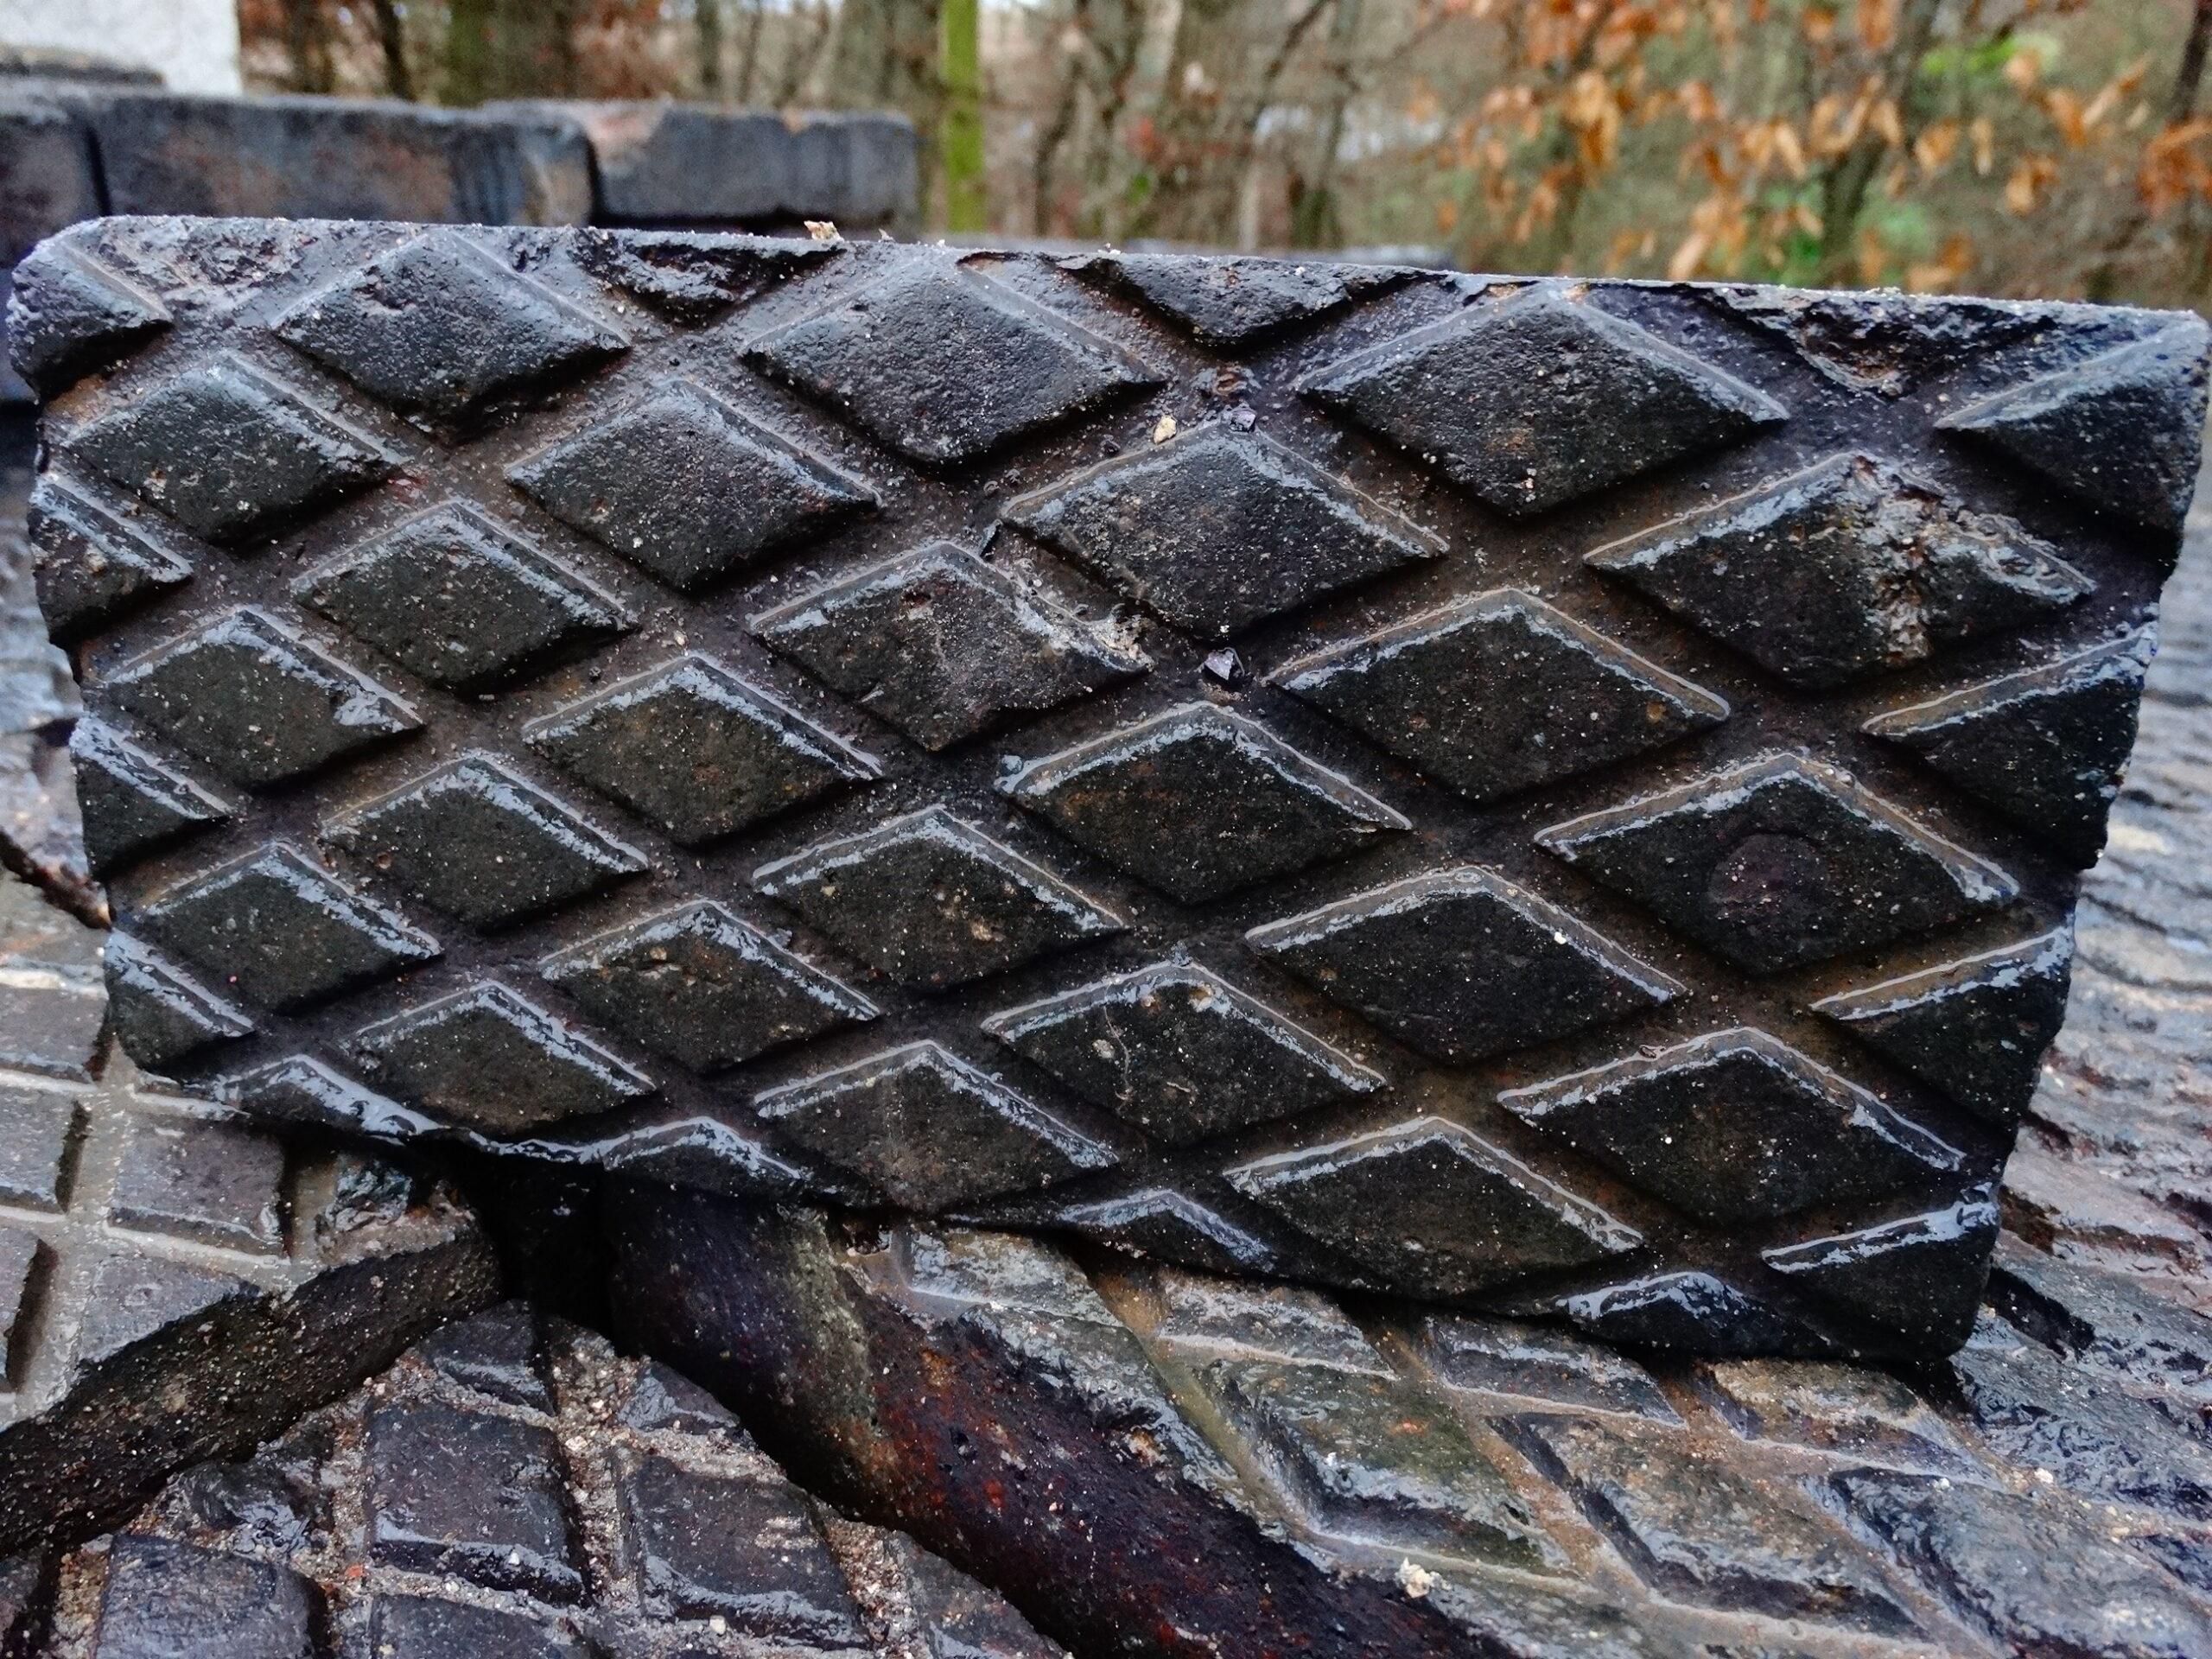
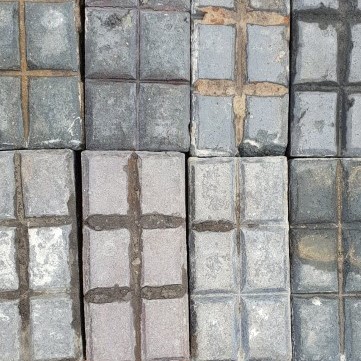
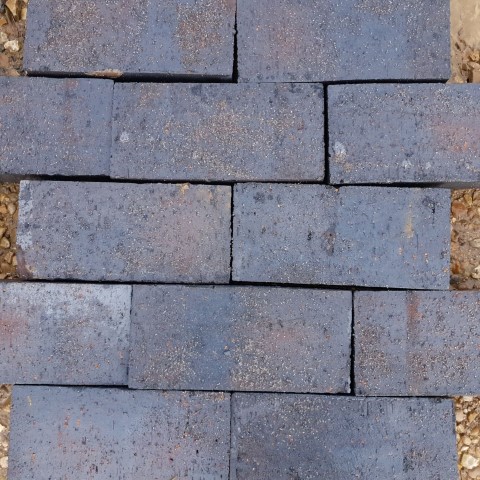

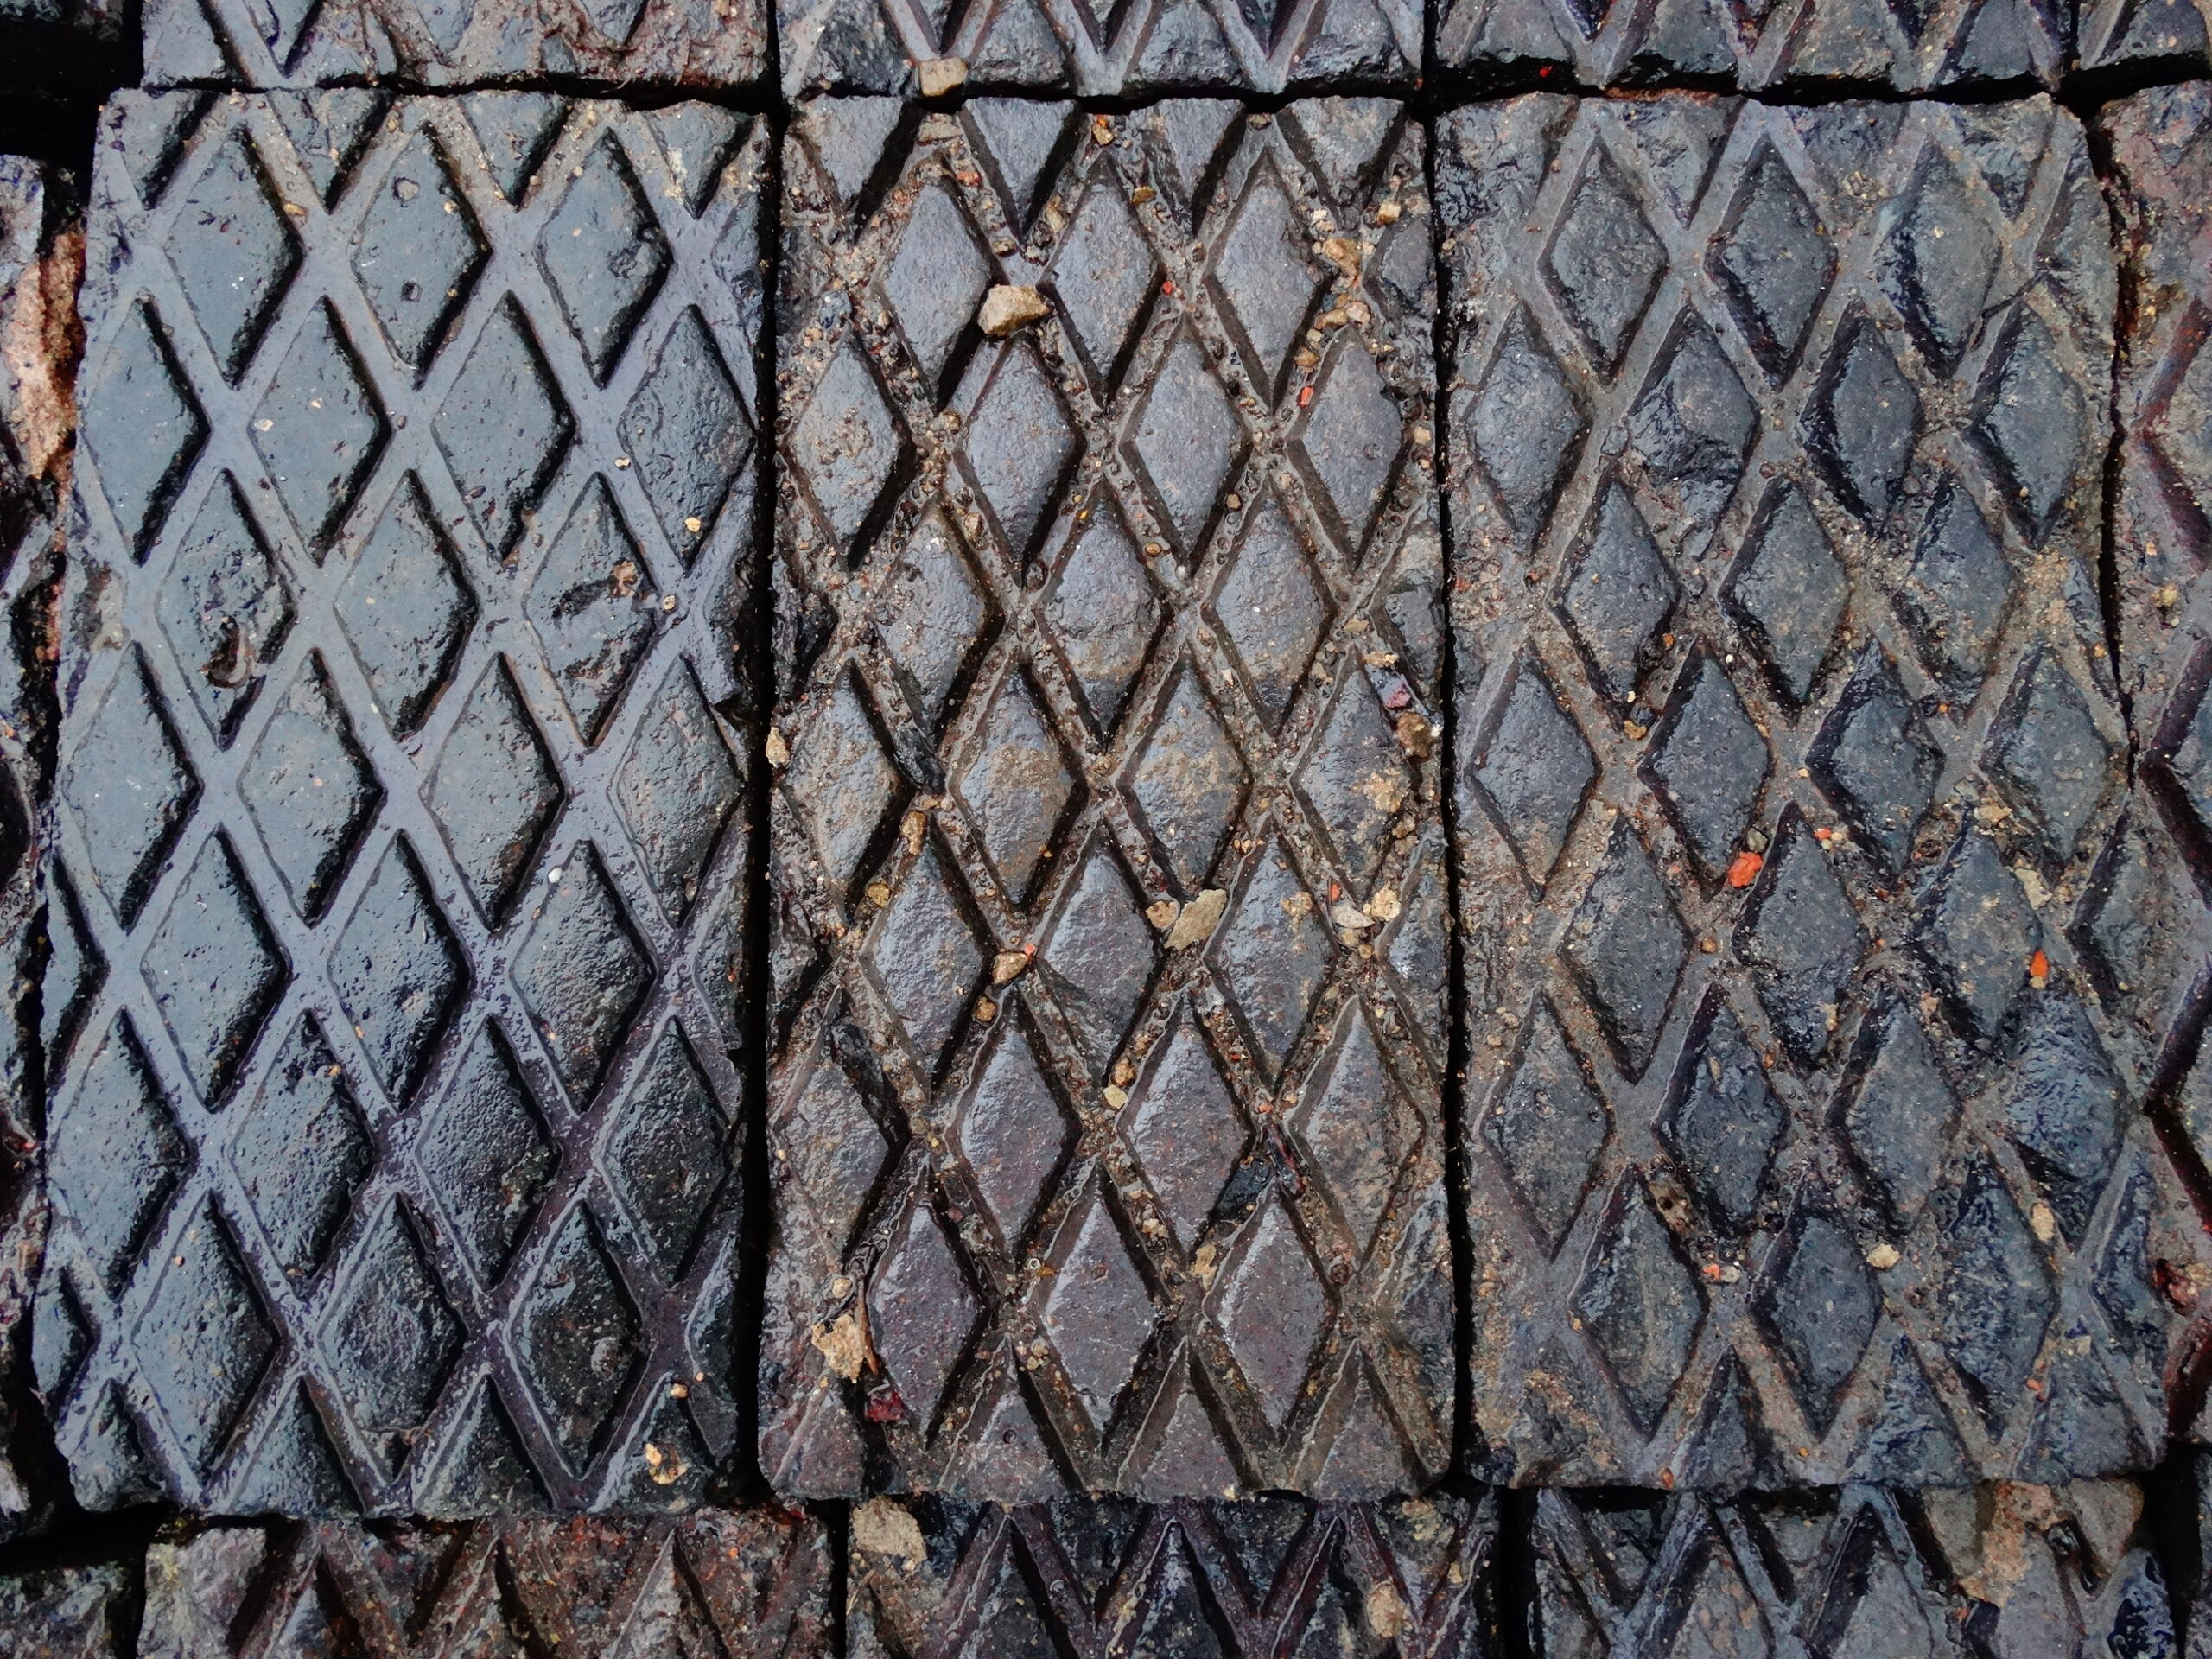
Staffordshire Blue pavers come in a variety of designs and sizes, from Smooth, as seen in the videos, to 8 bar ‘chocolate bar’ designs. There are two main sizes, 9″ and 10″, but others are available. The block pattern was originally designed to ensure horses hooves fit securely between the angled grooves. This was to ensure they didn’t slip and fall. But there are also diamond pattern designs, again in a number of sizes. The diamond pavers were made more with human foot traffic in mind. Depending on your preference, it can be interesting when different types of paver are used in a single project. If you’re considering a project with Staffordshire Blue pavers, drop in or give us a call, we’d be happy to advise on best practices.

