Wall copings (also called wall capping) act as a roof for walls, protecting them from rainwater which would cause degradation. This occurs in cold weather when the water held inside soaking wet bricks freezes, causing them to crack and eventually disintegrate. As well as their essential protective properties, wall copings come in many different styles to add character and a decorative touch to garden and boundary walls. Popular options include triangular, half-round and contemporary flat styles.
How do I measure for wall copings?
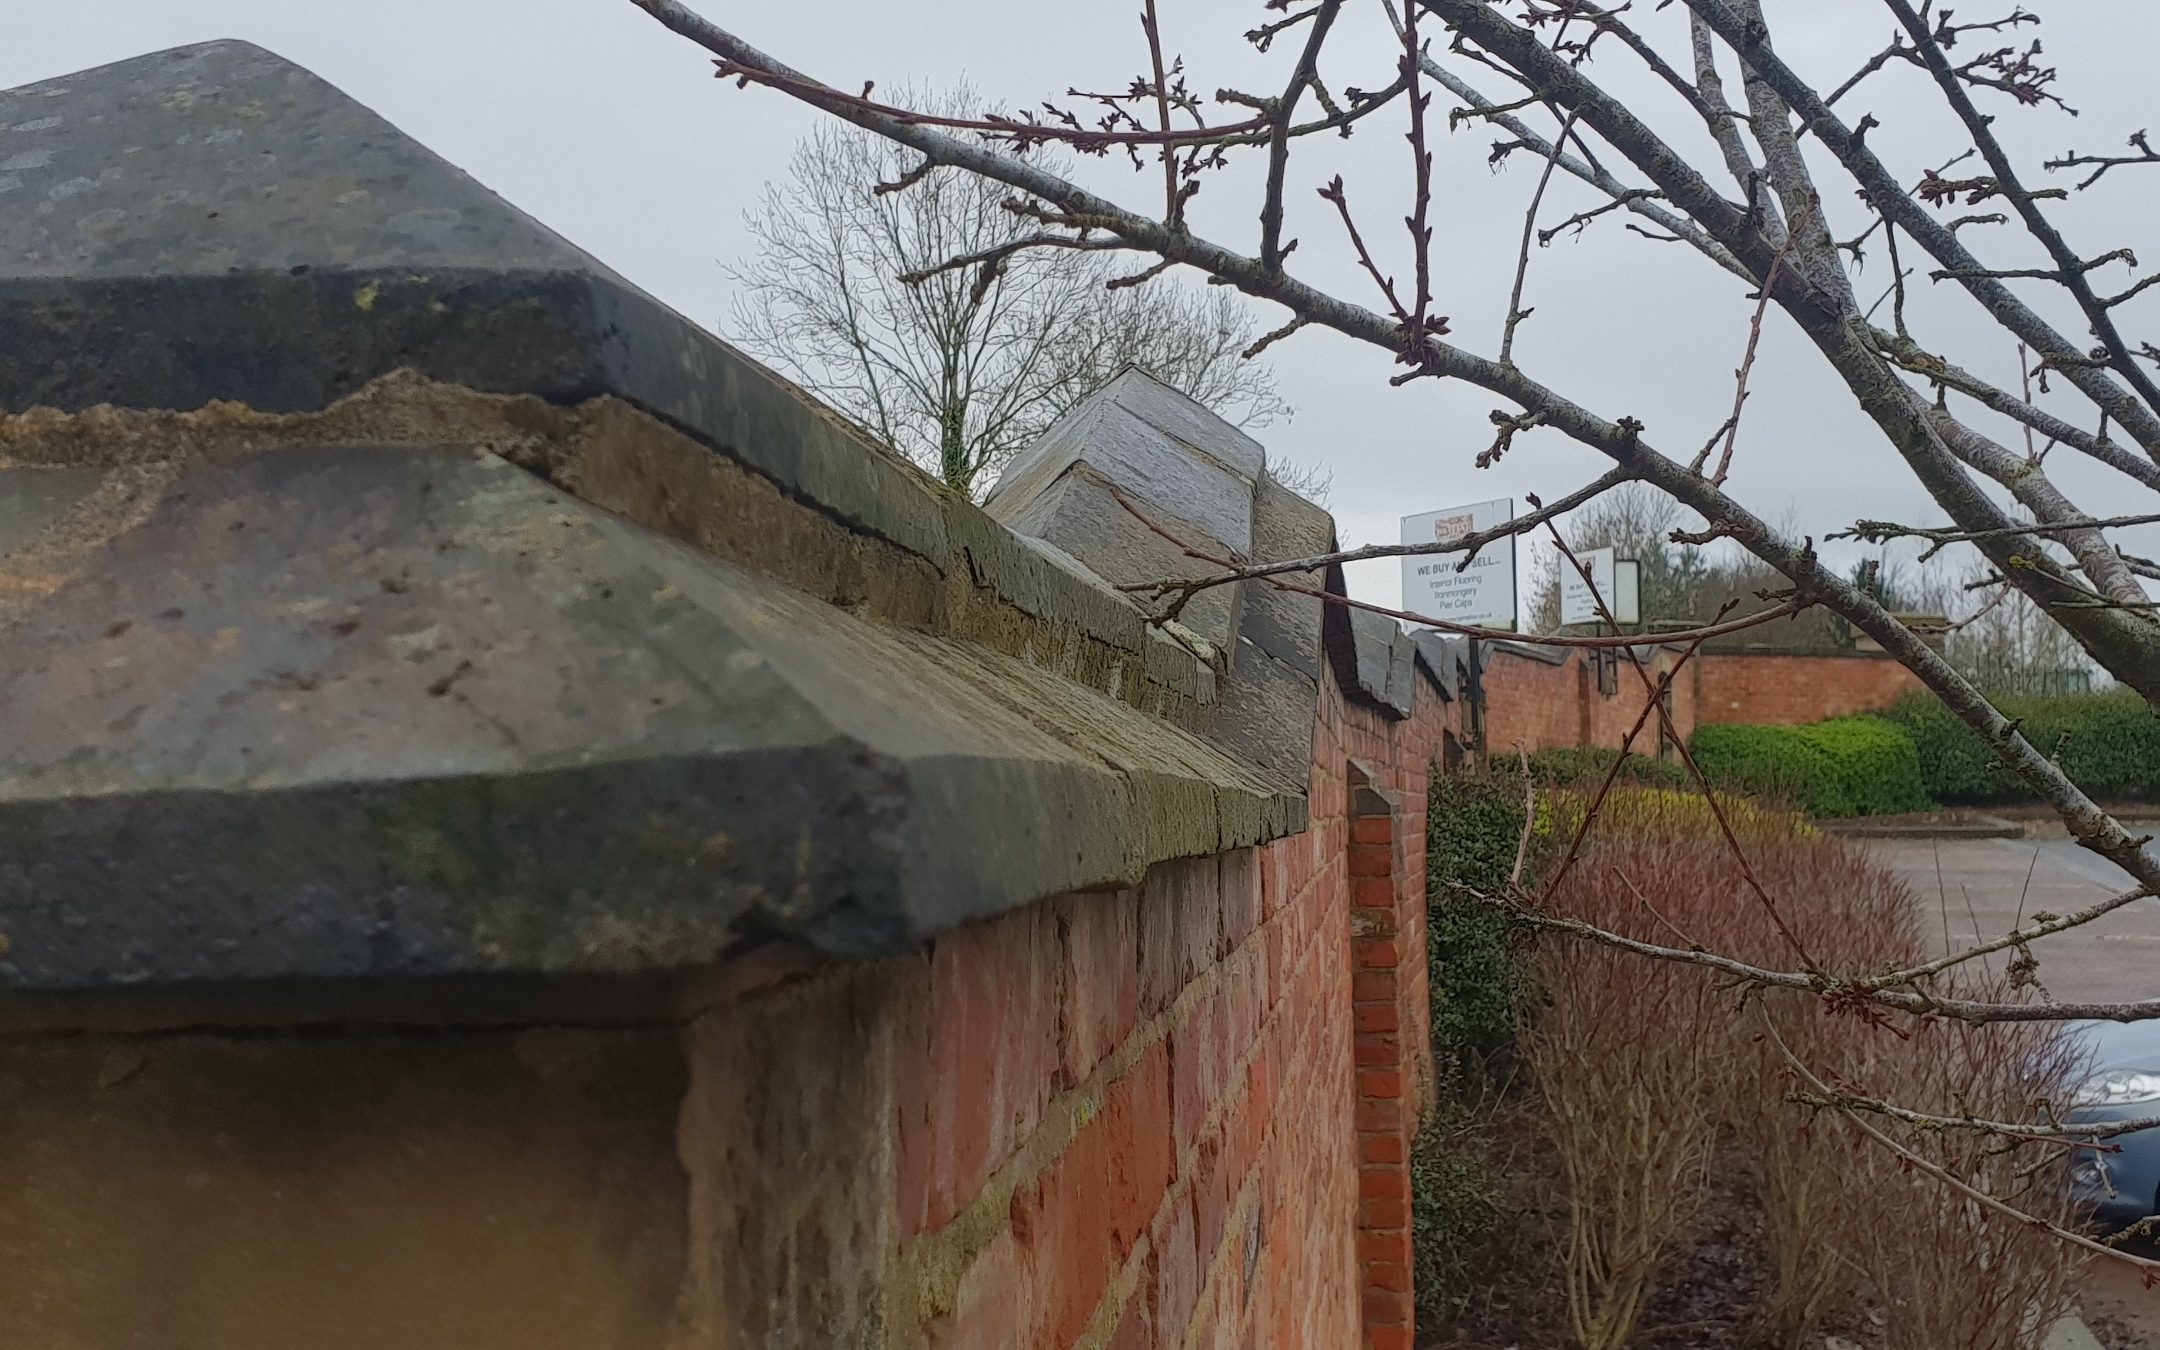
Your wall coping should be 50mm wider than your wall on each side. If you are building a low wall – up to about 90cm, you could use a flush coping without an overhang, for example, a half-round. If you are struggling to find a coping wide enough for your wall you could double up a narrower coping. Cut the first layer of copings in half and lay them on either side of the wall with a 50mm overhang on each. Then, level up the gap in between with a brick and cement filler and complete by placing a full coping on top. If the deficit in width is very slight you can use a blue plinth stretcher or header brick on either side of a full coping instead. Here is an example of the former:

Using roof tiles and ridges as a wall coping:
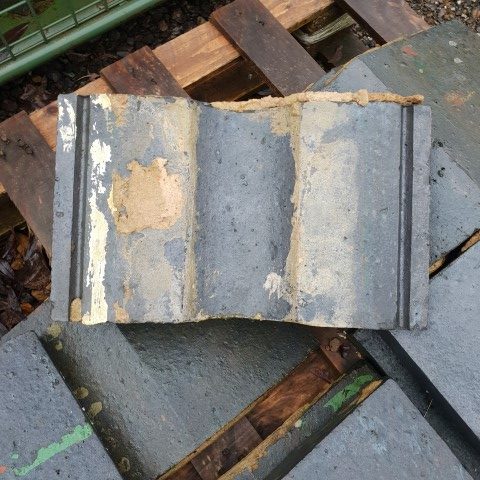
A cheap way to make a protective wall coping is to use sloping reclaimed roof tiles on either side of a semi-circular reclaimed ridge tile. The roof tiles create the overhang that is needed. Lay the tiles on a solid cement bed at an angle of at least 30 degrees so that the water runs off. Whilst this may not be as aesthetically pleasing as using purpose made copings, it will do the job of protecting the wall, and is cheaper too..
How do I lay wall copings?
It is important that you use the correct mortar mix when laying copings. This is usually a very strong mix with a minimum of 3 sand to 1 cement. You should use a stronger 2 sand to 1 cement mix when using blue copings as they are harder than other types. This allows both cement and coping to expand and contract at the same rate, thus preventing cracking and separation between the two
Joints should be kept as small as possible. This is because they are on top of the wall and exposed to the weather. It is vital that water doesn’t seep into the joint and then freeze, causing the cement to crack and eventually crumble to dust. This would allow the water to penetrate into the wall as well and encourage moss to grow which would act as a sponge, accelerating the weathering process.
I want to use reclaimed copings, do I need a perfect matching set?
Copings come in an infinite variety of widths, heights and lengths and sometimes it can be difficult to get enough to complete a run. However, as long as all of your copings are within 1 to 2 cm in height and width, you can join them successfully using the mortar joint to hide the differences.
The best way to decide how to lay a batch of slightly differing copings, is to lay them out on a scaffold board in order of smallest to largest. This will look better than laying them in a mismatched way. You can disguise a bigger difference in height by bedding the wall coping on a slightly thicker bed joint. Using different sizes adds to the character of a period property wall and very few actually have a perfect run of copings.You don’t want reclaimed products to look too perfect and period properties are often far from it, which is part of their charm!
What should I consider when choosing a style of wall coping?
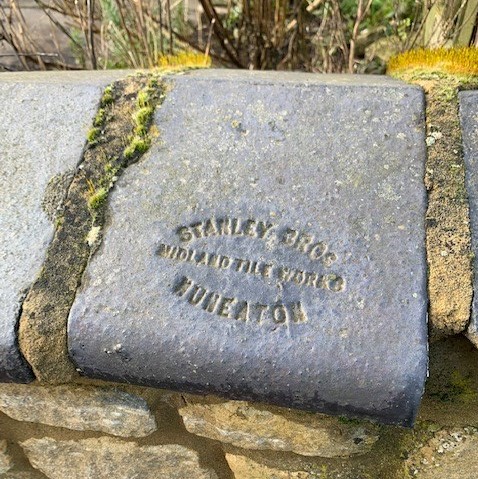
If you need to add capping to a wall, consider having a look around your local area at the style of copings that have been used. Different styles depended on the moulds used in brickworks and potteries and their availability was dependent on the transport routes at the time of construction. Copings were often moved using the canals during the late 18th and 19th centuries, and you can see the blue copings from the Staffordshire potteries along these routes, such as the Grand Union Canal which stretches from Birmingham to London. Blue copings are considered the gold standard as these are fired at a much higher temperature making them impervious to water thus preventing weathering and degradation. Even after 200 years they will remain in the same pristine condition.


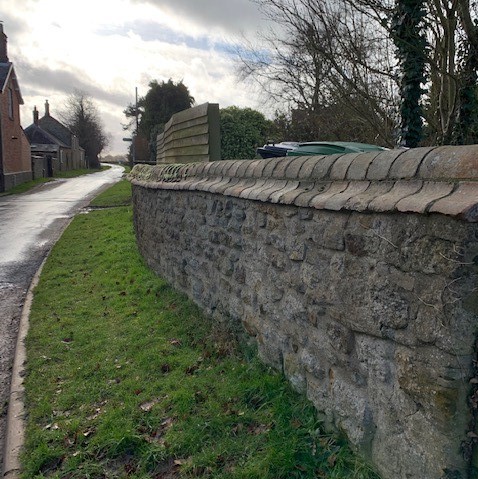
In Tudor and early Georgian times, the brickworks weren’t able to fire at this temperature, so copings were either made much softer red brick (of which few have survived) or cut from stone, the hardest and longest lasting of which is probably York stone. As well as traditional styles such as saddleback and triangular copings, you may also come across cock and hen copings which are traditionally used on dry stone walls in the Cotswolds and North of England. These use vertically laid triangular shaped stones which alternate between small and large sizes. Their jagged appearance helps prevent people and animals climbing over. When using cock and hen copings it is really important that the mortar joint in between is properly sealed so the water can’t seep between the stones. This sort of coping is only suitable for low walls as there is no overhang to protect the wall from rain and weathering.
How are wall copings made?
As discussed earlier, blue wall copings are considered the gold standard as they have been fired at a much higher temperature. They are impervious to rainwater and therefore frost resistant. Blue copings are made of the same clay as red copings but turn blue due to the high firing temperatures. The copings have to be cooled very slowly to make sure they don’t crack, and as a result are very expensive to produce, even today. Each coping is made in a mould, and each local brickworks produced its own designs to differentiate themselves from the competition -hence the huge variation.
Why are wall coping drips so important?
It is very important that all copings have a drip to stop rainwater running underneath and then down the wall. The drip should be about 25mm in from the edge and 8mm wide, including through the cement joint, to avoid water bridging the gap. The brick or stone layer should create this drip in the joint with his trowel when the cement is nearly dry. If water gets into a wall, particularly an old one, the rubble and lime mortar in the centre will expand, pushing the wall apart and causing it to collapse.

Stone Wall Copings:
Stone copings come in two main types:
1. A saddleback type or twice weathered – this means that water will flow off either side from the centre as with the blue saddlebacks. They are usually much longer than blue copings as stone is lighter and easier to lift.
2 Single weathered stone copings – these are higher on one side so water only flows one way. This is useful if they are used in a retaining wall, for example, next to a flowerbed, so water doesn’t soak the back of the buried wall.
New (flat) stone wall copings should be put on a slight slope and must have a drip cut into them with a disc cutter if they are to be used on retaining walls.
Modern Wall Copings:
You may notice that modern walls sometimes use engineering bricks as copings. As modern bricks are frost proof the walls do not necessarily need a traditional coping. One budget method is to use crease tiles on either side of a modern brick, laid on edge. However, a capping like this will not prevent water from running down the side of the wall and soaking the bricks so must not be used on an older or reclaimed brick wall. If frost gets into a reclaimed bricks it will “blow off” the face, meaning about an inch comes off the brick and the whole thing will have to be cut out and replaced.
Watling Reclamation sell a wide range of new and reclaimed wall copings. If you are looking for help choosing capping for a specific project please don’t hesitate to get in touch by calling us on 01327 811888 or e-mailing us on sales@watlingreclamation.co.uk.
-
 Raj Green Sandstone Steps – Riven 35cm x 100cm£37.00 Excl. VAT

