Autumn is the perfect time to plant up containers with bulbs for you to enjoy beautiful blooms next spring. By layering different combinations of bulbs, you can create a ‘bulb lasagne’ – a colourful display that will provide flowers for weeks.
Step 1 – Choosing your container for autumn bulb planting
Firstly, if you are planning a bulb lasagne, you will need a reasonably deep container, as different bulbs need planting at varying depths.
Above all, we recommend you buy good quality pots/containers with drainage holes. Choose a container that will withstand hard frosts and give you the freedom to plant big groups of bulbs for maximum impact. At Watling Reclamation, we have new and reclaimed containers…
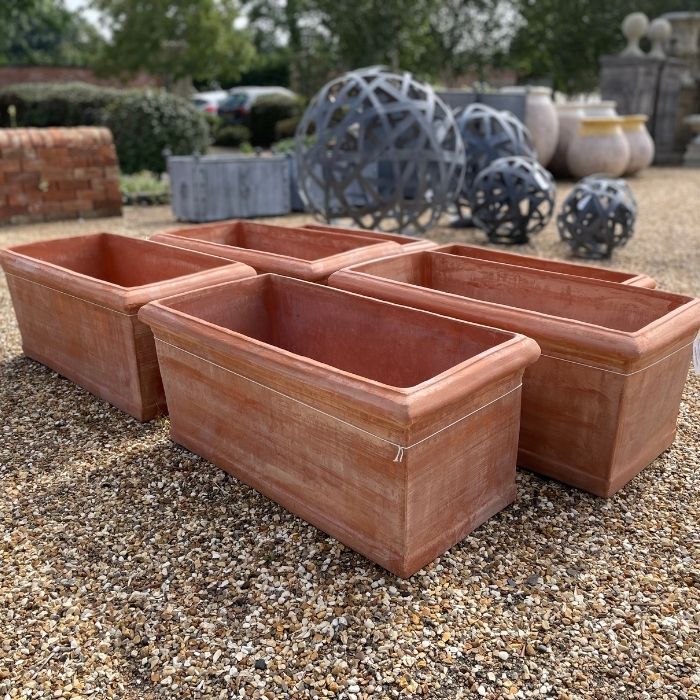
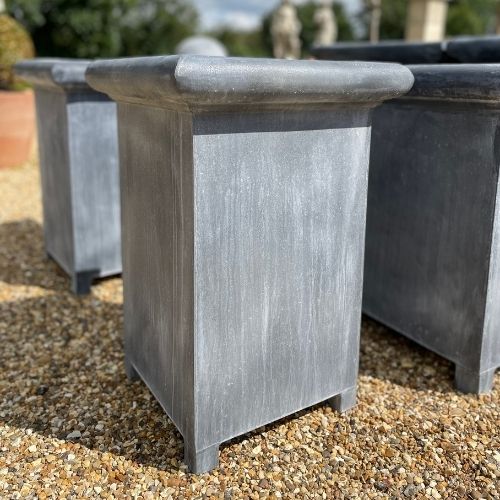
New Handmade Italian, Zinc or Concrete Containers
Bring a warm, Mediterranean feel to your garden with our Italian handmade pots and troughs. Or, you may prefer a contemporary zinc planter with clean, modern lines.
Why not get the look of old Yorkstone, but buy new? We have a limited number of new bow fronted troughs, made from concrete, that resemble old Yorkstone troughs.


Something reclaimed and characterful?
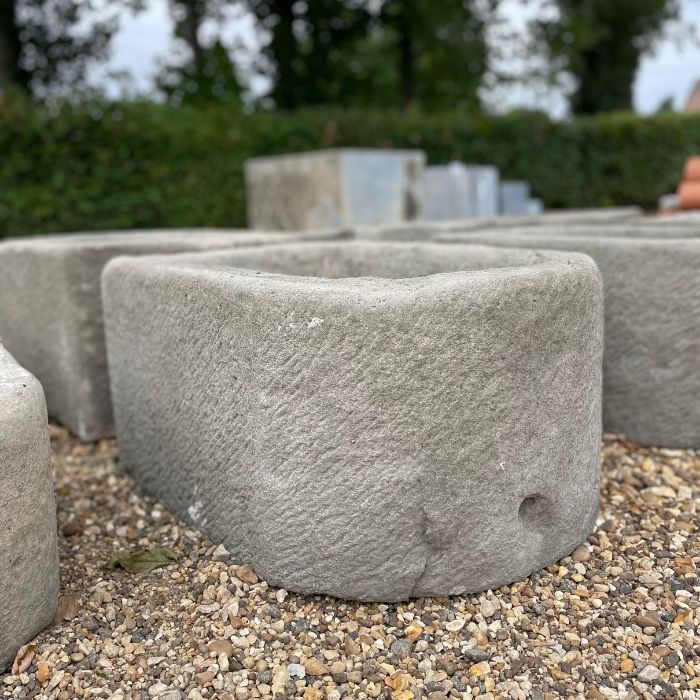
Our unique selection of reclaimed troughs, composition stone planters and concrete pots are great for traditional planting schemes in a classic garden.
On a budget?
Reclaimed chimney pots are good value and great for displaying bulbs. Simply choose your chimney pot, then find a deep plastic plant pot that fits snugly into the chimney pot, then plant up with bulbs (see below). Next, sit the plastic pot on a few bricks placed inside the chimney pot, to achieve the correct height and give it stability. The great thing is that once your spring bulbs have stopped flowering, just swap it for another pot of summer flowers.
Alternatively, you could buy a reclaimed solid oak half barrel planter for only £30.00. Simply drill some drainage holes, and at 75cm wide, you can create a brilliant splash of colour for your patio or garden.


Seven easy steps to planting a bulb lasagne in a container
- Once you have selected your container/s, place broken pieces of pot over the drainage holes.
- Next, add at least 10cm of multi-purpose compost to the bottom of the container.
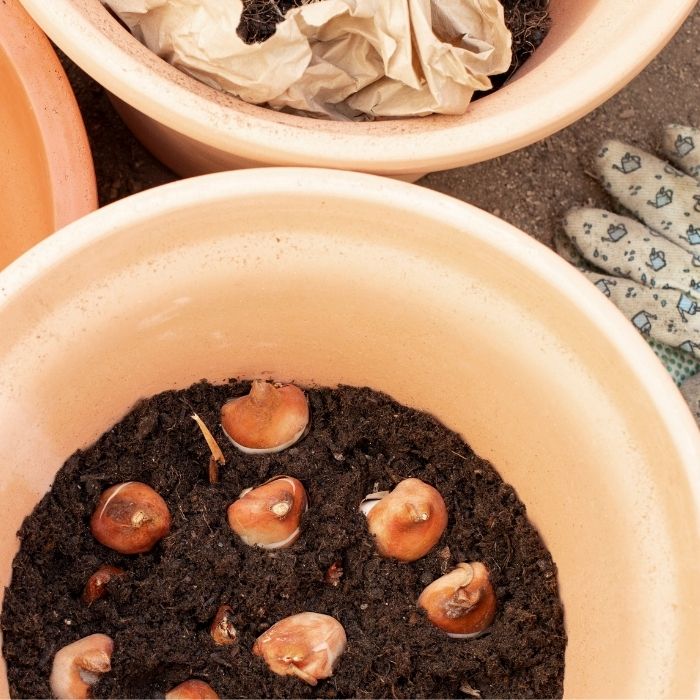
- Then you can create your first bulb layer. Place the largest, and latest, flowering bulbs, such as tulips or hyacinths onto the compost. Make sure they are pointy end up and place them approx. 5cm (or the width of the bulb) apart.
- Add approx. 5-10cm of compost to cover them. Next add another layer of bulbs on top. These will be smaller, earlier flowering bulbs, like daffodils or anemones.
- Cover with another 5-10cm of compost, then add another layer of small early flowering bulbs, such as snowdrops, miniature iris or crocus.
- Finish off with approx. 10cm of compost, firm it down. Or, you may want to plant some delicate violas on the top while waiting for the spring bulbs to show.
- Remember to water pots/containers, especially in early spring. Also, put your container on feet to help protect from frost and improve drainage.

Interested to find out more? We are reclamation, not gardening, experts! However, local garden centres often have seasonal talks and workshops, so why not contact them to find out if they are running a bulb planting workshops this autumn.
Send us your photos and get 5% off your next purchase!
If you are inspired to plant up one of our pots/containers with bulbs this autumn, please send us your photos next spring. As a thank you, we will give you 5% off your next purchase! Simply email us at: marketing@watlingreclamation.co.uk.

